


As a developer, it's nice to be able to create things to make your life easier. I was tired of having to open up my previous GitHub Repo just to copy the link and share it. So, I created my first Chrome Extension! It shows me a list of my most recent Repositories and allows me to copy the link directly.
first, I created one folder called GithubExtention, inside that folder I created one file manifest.json. There's a couple of key properties.
manifest-version - Google says this should be 2 currently, you can read more
name and description - I have written the name and description of my app.
- version - version of the extension.
- browser action - this is where we will specify our icon as well as what HTML to show when a user clicks on the extension.
- permissions - didn't need any specifically.
Here's what my manifest file looks like.
{
    "manifest_version": 2,
    "name": "GithubRepoExtention",
    "description": "it will show all my github repo",
    "version": "1.0",
    "browser_action": {
        "default_icon": "github.png",
        "default_popup": "popup.html"
    },
    "permissions": []
}
other than the manifest.json file I need three new files and one Icon.
- popup.js
- popup.html
- popup.css
- github.png
Here's my full HTML file.
<!DOCTYPE html>
<html lang="en">
    <head>
        <meta charset="UTF-8" />
        <meta name="viewport" content="width=device-width, initial-scale=1.0" />
        <title>Pranitcode github repo</title>
        <link rel="stylesheet" href="popup.css" />
    </head>
    <body>
        <div class="container">
            <h2>My github repo</h2>
            <ol id="linksList"></ol>
        </div>
        <script src="popup.js"></script>
    </body>
</html>
I linked to the JS and CSS files and included an ordered list element that I will populate in JavaScript.
Here's my full CSS file.
@import url("https://fonts.googleapis.com/css2?family=Merriweather&family=Open+Sans&family=Roboto&family=Roboto+Condensed&display=swap");
* {
     font-family: "Roboto", sans-serif;
}
body {
    border-radius: 10px;
    background: #ffd000;
    color: black;
}
.container {
    padding: 1rem 0.5rem;
    height: 500px;
    width: 400px;
}
#linksList {
    padding-left: 0;
}
.repo-link {
    width: 100%;
    list-style: none;
    overflow: hidden;
    text-overflow: ellipsis;
    white-space: nowrap;
    padding: 10px 0;
    color: black;
}
.repo-link > a {
    color: black;
    text-decoration: none;
}
.btn {
    border: 1px solid white;
    border-radius: 10px;
    padding: 5px 10px;
    cursor: pointer;
    background-color: white;
    font-size: 12px;
    box-shadow: 1px 1px 5px white;
    transition: 100ms;
}
.btn:hover {
    transform: translateY(-1px);
    box-shadow: 2px 2px 5px white;
}
One tricky thing I had to figure out was how to get the list of recent GitHub Repo links. for that, I create a serverless function (completely separate from this, if you want to create your own serverless function see this Serverless Lambda Functions ) you can see my Serverless Lambda Functions - It's hosted on Netlify and you can check out the source code if you want.Github
//if you don't want  to create serverless function for your app, you can used below github API just change your username
const url = "https://api.github.com/users/pranitcode/repos?type=owner&sort=updated";
// github api
                                              or
const url = "https://pranitcode-github-lambda-api.netlify.app/.netlify/functions/getusers";
//serverless Functions
With that function in place, I could make a Fetch request in JavaScript to get the links, then dynamically generate the HTML for each li. Here's the snippet. Notice that everything is wrapped inside of the DOMContentLoaded event know more about DOMContentLoaded .
The DOMContentLoaded event fires when the initial HTML document has been completely loaded and parsed, without waiting for stylesheets, images, and subframes to finish loading. Also, I needed to add the Copy functionality
const copy = (e) => {
        const str = e.target.dataset.url;
        navigator.clipboard.writeText(str);
    };
I know, you will be confused about what exactly navigator.clipboard.writeText(str); are doing. For that, I put a link here - Clipboard.writeText()
Here's my full JS file.
document.addEventListener('DOMContentLoaded', async () => {
    const linksList = document.getElementById('linksList');

    const url = "https://pranitcode-github-lambda-api.netlify.app/.netlify/functions/getusers";

    const copy = (e) => {
        const str = e.target.dataset.url;
        navigator.clipboard.writeText(str);
    };
   try {
        const res = await fetch(url); // it will fetch the url
       const forRepo = await res.json(); // respone converted into json


       // map all repo link
        const RepoHtml = forRepo
            .map((repo) => {
              const RepoUrl = `https://github.com/pranitcode/${repo.name}`;
              return `<li class="repo-link">
                        <button class="btn" data-url="${RepoUrl}">Copy URL</button>
                        <a class="btn" href="${RepoUrl}" rel="noopener noreferrer" target="_blank">Watch</a>
                     ${repo.name}
                    </li>`;
            })
            .join('');

        linksList.innerHTML = RepoHtml;
        const repoLinks = [...document.querySelectorAll('.repo-link')]; // it will convert into array
        repoLinks.forEach((link) => link.addEventListener('click', copy)); // array method will add event listener for each url
    } catch (err) {
        console.error(err);
    }
});
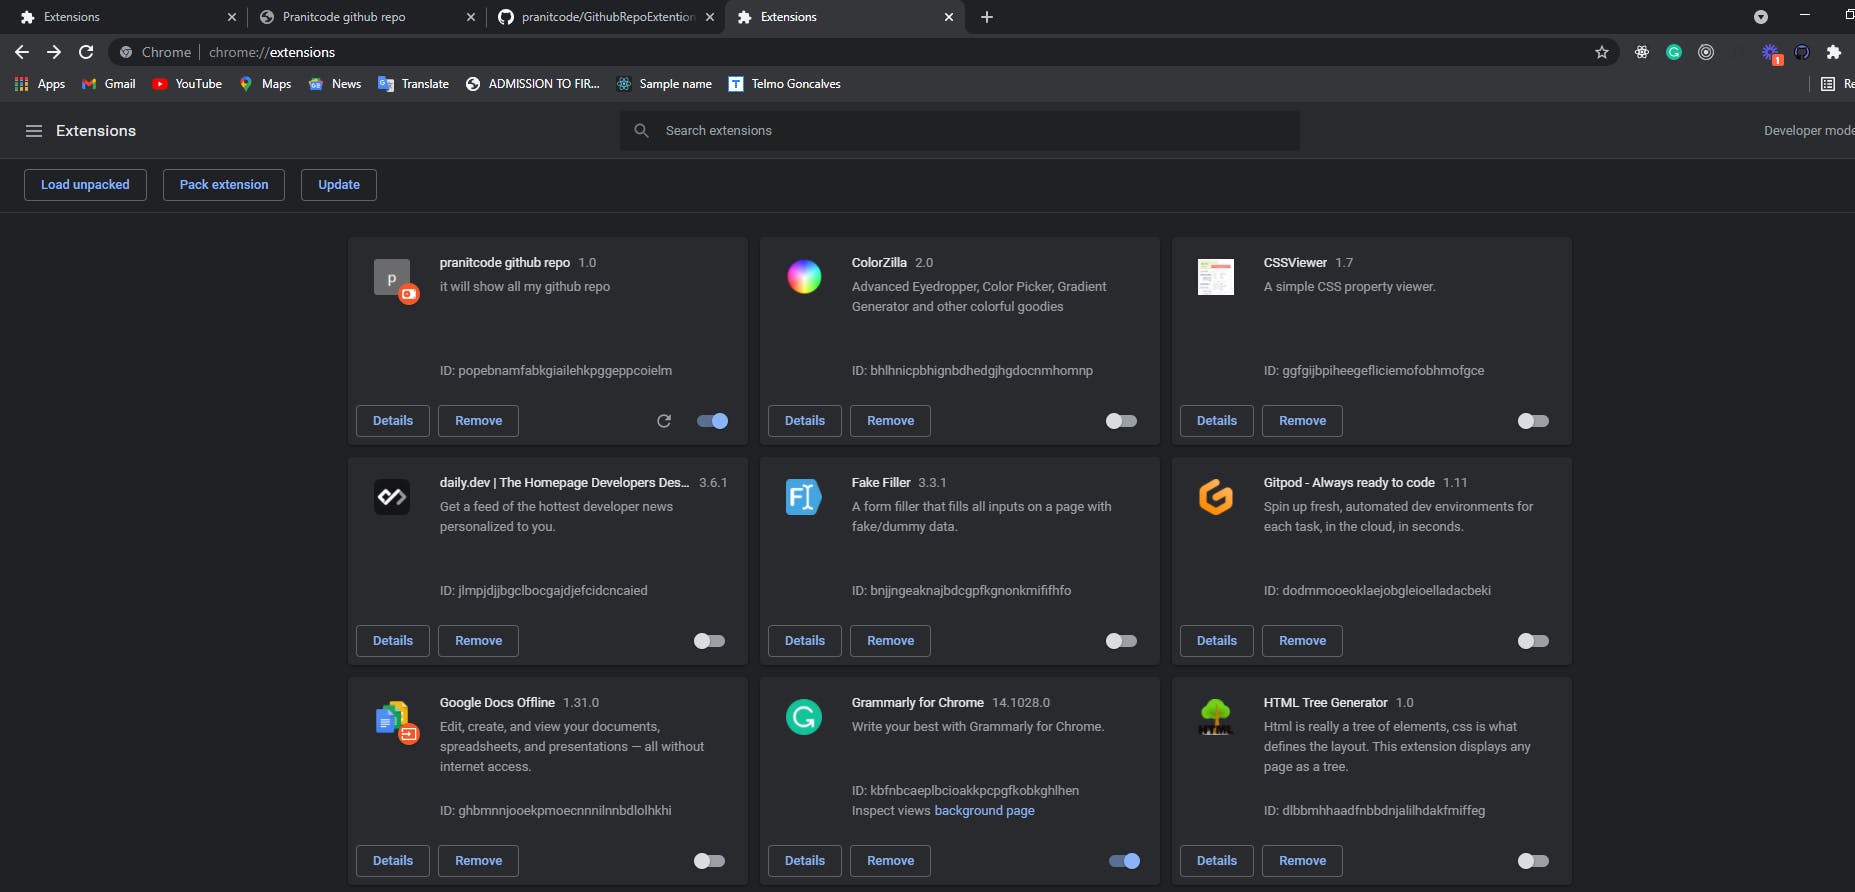
Now How to test the extension
You can test this in two ways. One is to open the HTML page in the browser just like any other app. I would suggest using the Live Server extension in VS Code to help with that.
The second way to test is to create the Chrome extension by connecting it to the directory your code is inside. For this, you'll need to open chrome://extensions and turn on developer mode. There should be a toggle for it.
Then, choose Load Unpacked and connect it to your code folder. After you do, you'll see your extension listed.